 You All well knew the DNS (Domain Name System) is a cornerstone of the internet. It translates domain names into IP addresses and vice versa. If you’re working with Azure, managing your DNS records within the same ecosystem is a smart move. Azure DNS provides a highly available, scalable, and secure way to handle domain names.
What is Azure DNS?
Azure DNS is a cloud service that allows you to host DNS zones and manage them via API, PowerShell, CLI, or the portal. It provides:
- Global availability
- Fault tolerance
- Integration with Azure services
- Support for both private and public DNS zones
Step 1: Sign in to the Azure Portal
- Go to https://portal.azure.com
- Sign in to your account
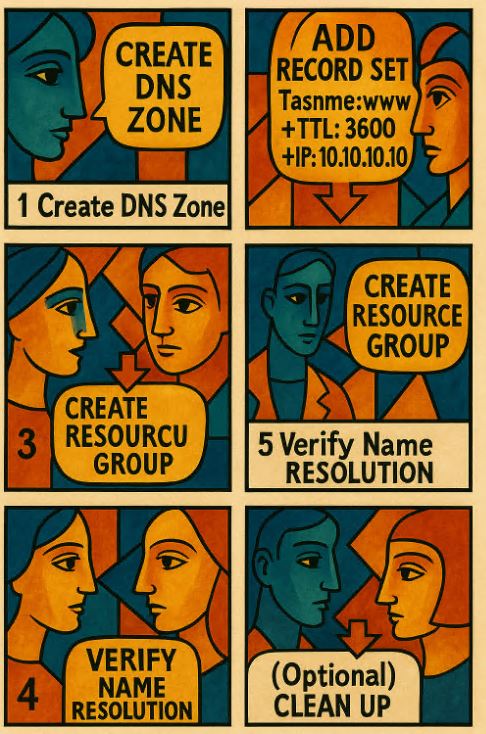
Step 2: Create a DNS Zone
- Click “Create a resource” → Networking → DNS zone
- Specify:
- Subscription
- Resource Group
- Zone name (example.com)
- Click “Review + create” then “Create”
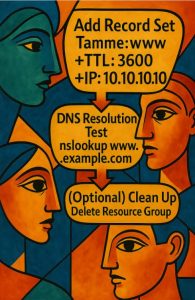
Step 3: Add an A Record
- Open your DNS zone
- Click “+ Record set”
- Fill in:
- Name: www
- Type: A
- TTL: 3600
- IP: 10.10.10.10
Step 4: Validate with nslookup
nslookup www.example.com ns1-08.azure-dns.comStep 5: Delegate Your Domain
- Log in to your domain registrar
- Replace the current NS records with the ones provided by Azure
Step 6: Delete Resources (Optional)
- Go to Resource groups → MyResourceGroup
- Click Delete resource group → enter the name to confirm
Tips
- Use RBAC to restrict access
- Tag resources for cost analysis
- Enable diagnostics logging via Azure Monitor
Useful Links